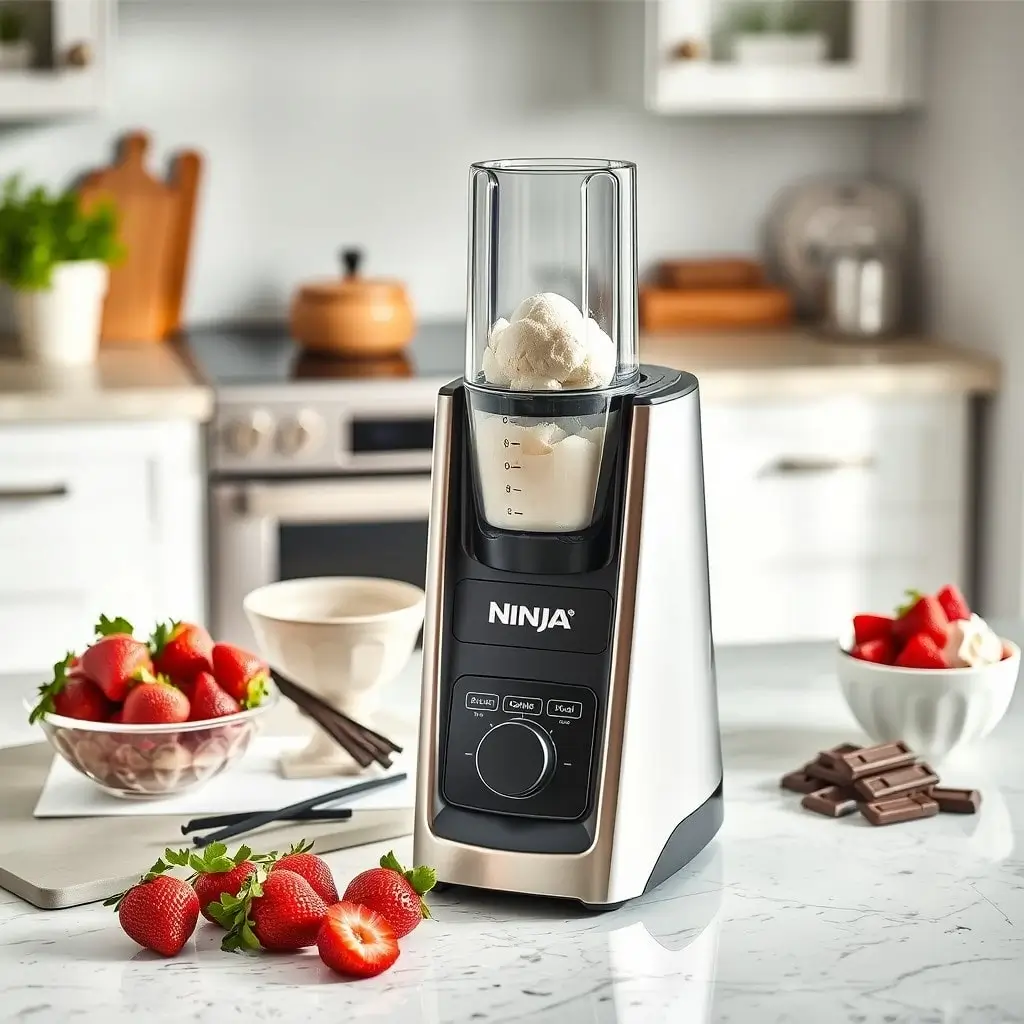
Did you know that the average American consumes about 23 pounds of ice cream per year? That’s a lot of frozen goodness! But here’s the thing – not all ice cream is created equal. As a self-proclaimed ice cream enthusiast (and yes, I proudly contribute to that 23-pound statistic), I’ve discovered that homemade ice cream is where it’s at. And let me tell you, the Ninja Creami has been a total game-changer in my frozen dessert adventures.
If you’re ready to elevate your ice cream game and impress your taste buds (and maybe a few friends along the way), you’re in for a treat. In this article, I’m going to spill the beans on some mouthwatering Ninja Creami recipes that’ll have you wondering why you ever bothered with store-bought ice cream in the first place. Trust me, your freezer is about to become your new favorite hangout spot!
The Magic of the Ninja Creami: How It Works
Okay, before we dive into the delicious recipes, let’s take a quick sec to talk about what makes the Ninja Creami so special. This nifty little machine is like the wizard of the ice cream world. You start by freezing your ice cream base in these special pints, and then the Ninja Creami works its magic by churning and scraping the frozen mixture into creamy perfection.
But here’s where it gets really cool – the re-spin function. This bad boy lets you customize the texture of your ice cream. Want it super smooth and creamy? Re-spin it. Prefer a little more body? You got it. It’s like having your own personal ice cream texture wizard at your fingertips.
I gotta say, when I first got my Ninja Creami, I was a bit skeptical. I mean, how different could it be from my old-school ice cream maker? But let me tell you, the difference is night and day. The texture you can achieve with this thing is insane. Plus, it’s way less messy and way more fun to use.
Now, let’s get to the good stuff – the recipes!
Classic Vanilla Bean Ice Cream: A Creamy Canvas
Let’s kick things off with a classic – vanilla bean ice cream. I know, I know, vanilla might seem boring, but trust me, a good vanilla ice cream is the foundation of ice cream greatness. Plus, it’s the perfect canvas for all sorts of toppings and mix-ins.
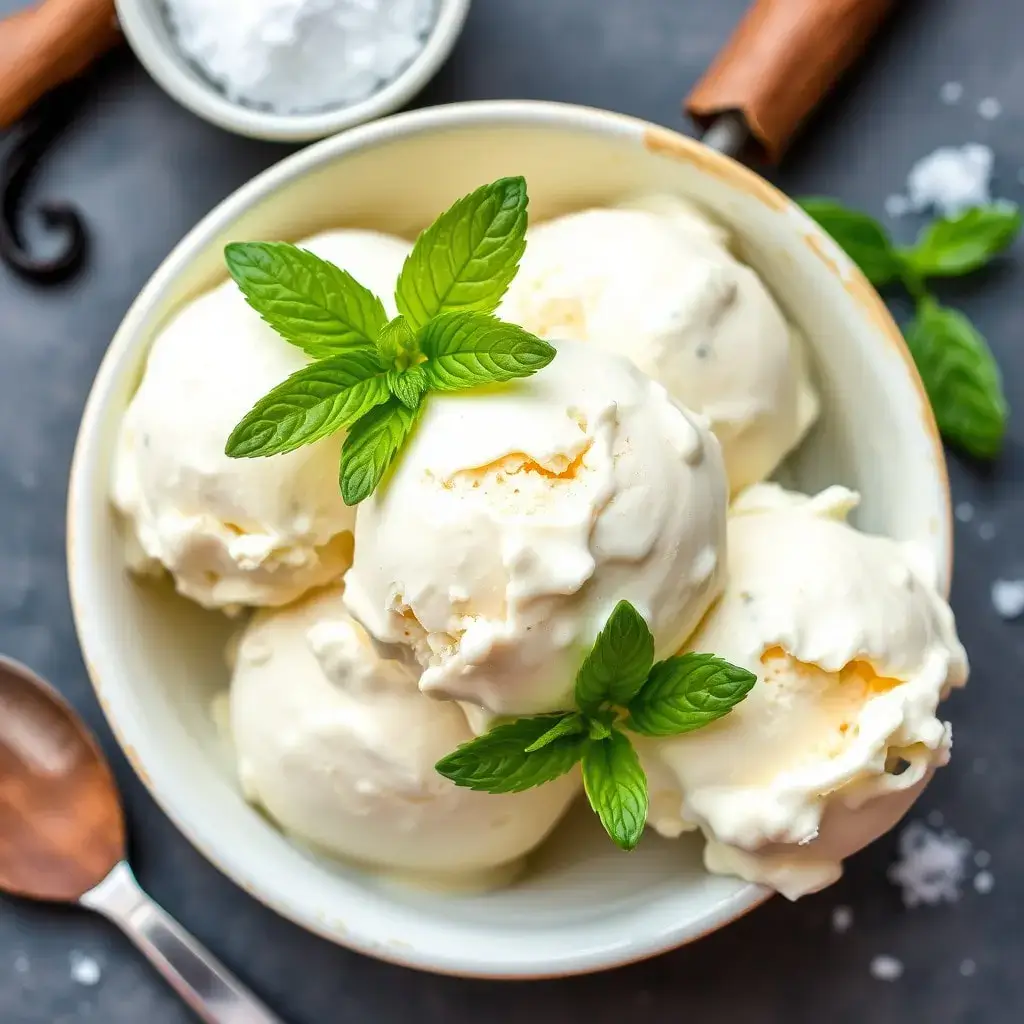
Here’s what you’ll need:
- 1 cup heavy cream
- 1 cup whole milk
- 1/2 cup granulated sugar
- 1/8 tsp salt
- 1 vanilla bean (or 2 tsp vanilla extract)
- 2 large egg yolks (optional, but they make it extra creamy)
Now, here’s how to make this creamy dream:
- In a saucepan, combine the cream, milk, sugar, and salt. If you’re using a vanilla bean, split it and scrape the seeds into the mixture.
- Heat the mixture over medium heat, stirring until the sugar dissolves. Don’t let it boil!
- In a separate bowl, whisk the egg yolks (if using).
- Slowly pour some of the hot cream mixture into the egg yolks, whisking constantly. This is called tempering, and it prevents the eggs from scrambling.
- Pour the egg mixture back into the saucepan and cook over low heat, stirring constantly, until it thickens slightly.
- Remove from heat and stir in the vanilla extract if you’re using that instead of a vanilla bean.
- Let the mixture cool completely, then pour it into your Ninja Creami pint and freeze for 24 hours.
- Pop it in your Ninja Creami and let it work its magic!
Pro tip: For the best vanilla flavor, use both a vanilla bean and a splash of vanilla extract. It’s a game-changer, trust me!
Decadent Chocolate Fudge Brownie Ice Cream
Alright, chocolate lovers, this one’s for you. This recipe is so good, it might just replace your favorite store-bought brand. (Sorry, Ben & Jerry’s, but homemade is where it’s at!)
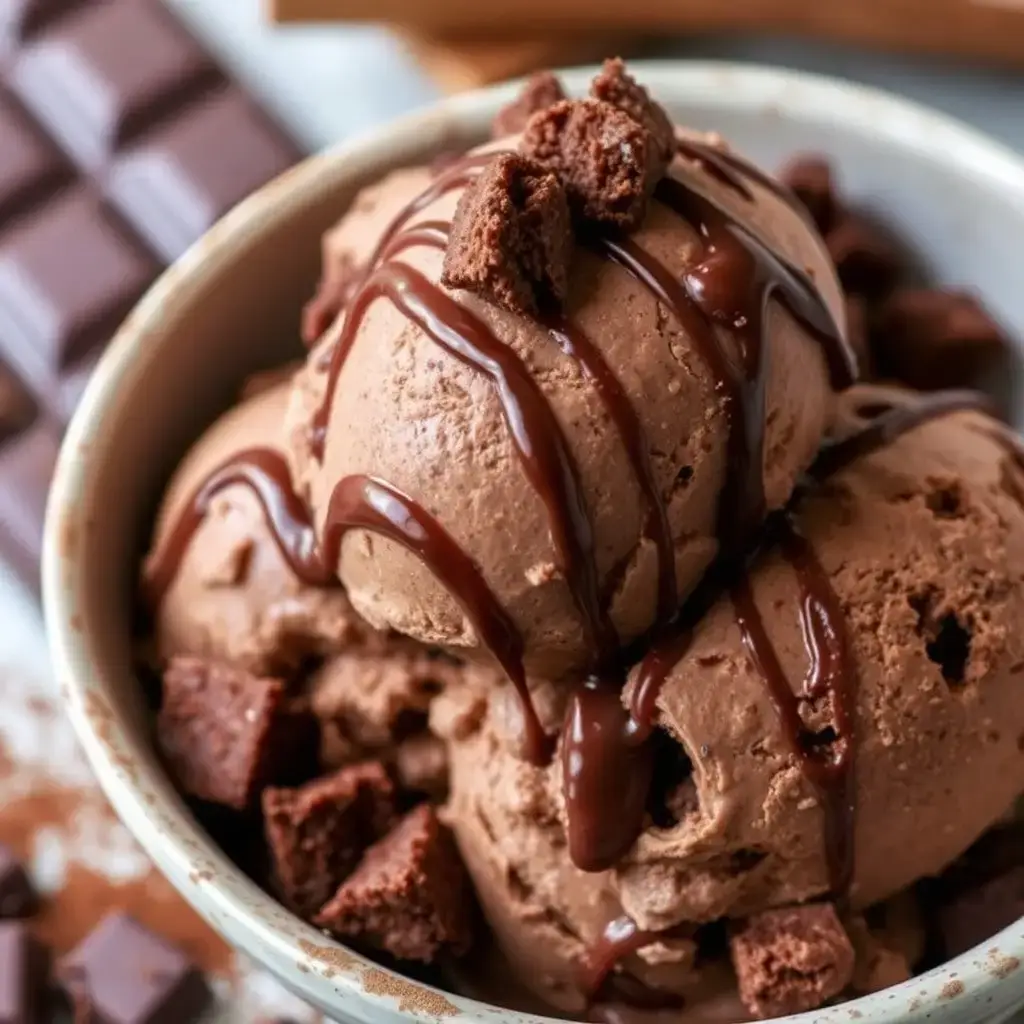
Here’s what you need:
- 1 cup heavy cream
- 1 cup whole milk
- 1/2 cup granulated sugar
- 1/4 cup unsweetened cocoa powder
- 1/8 tsp salt
- 2 oz dark chocolate, chopped
- 1/2 cup brownie chunks (homemade or store-bought)
Let’s make some chocolate magic:
- In a saucepan, whisk together the cream, milk, sugar, cocoa powder, and salt.
- Heat over medium, whisking constantly, until the mixture is hot and the cocoa is fully dissolved.
- Remove from heat and add the chopped chocolate. Let it sit for a minute, then whisk until smooth.
- Let the mixture cool completely, then pour it into your Ninja Creami pint and freeze for 24 hours.
- After the initial churn in the Ninja Creami, add the brownie chunks and use the mix-in function.
- Re-spin if needed for the perfect texture.
Here’s a little secret: adding a pinch of espresso powder to the mixture enhances the chocolate flavor without making it taste like coffee. It’s one of those weird culinary tricks that just works!
Fruity Delight: Strawberry Cheesecake Ice Cream
Okay, I’ll admit it – I used to think fruit-based ice creams were kinda lame. But this strawberry cheesecake ice cream? It changed my mind real quick. It’s the perfect balance of fruity and creamy, with a little tang from the cream cheese. Here’s how to make it:

Ingredients:
- 1 cup fresh strawberries, hulled and chopped
- 1/2 cup granulated sugar
- 1 cup heavy cream
- 1/2 cup whole milk
- 4 oz cream cheese, softened
- 1/4 cup graham cracker crumbs
The how-to:
- In a bowl, mix the strawberries with 1/4 cup of the sugar. Let it sit for about 30 minutes to release the juices.
- In a blender, combine the macerated strawberries, cream, milk, remaining sugar, and cream cheese. Blend until smooth.
- Pour the mixture into your Ninja Creami pint and freeze for 24 hours.
- After the initial churn, add the graham cracker crumbs using the mix-in function.
- Re-spin if needed for the perfect texture.
Pro tip: If you’re feeling fancy, swirl in some strawberry jam after the final churn. It adds pockets of intense strawberry flavor that’ll make your taste buds do a happy dance!
Exotic Flavors: Matcha Green Tea Ice Cream
Alright, let’s get a little adventurous! If you’ve never tried matcha ice cream, you’re in for a treat. It’s got this unique, slightly earthy flavor that’s totally addictive. Plus, it’s a gorgeous green color that’ll make your Instagram followers jealous.
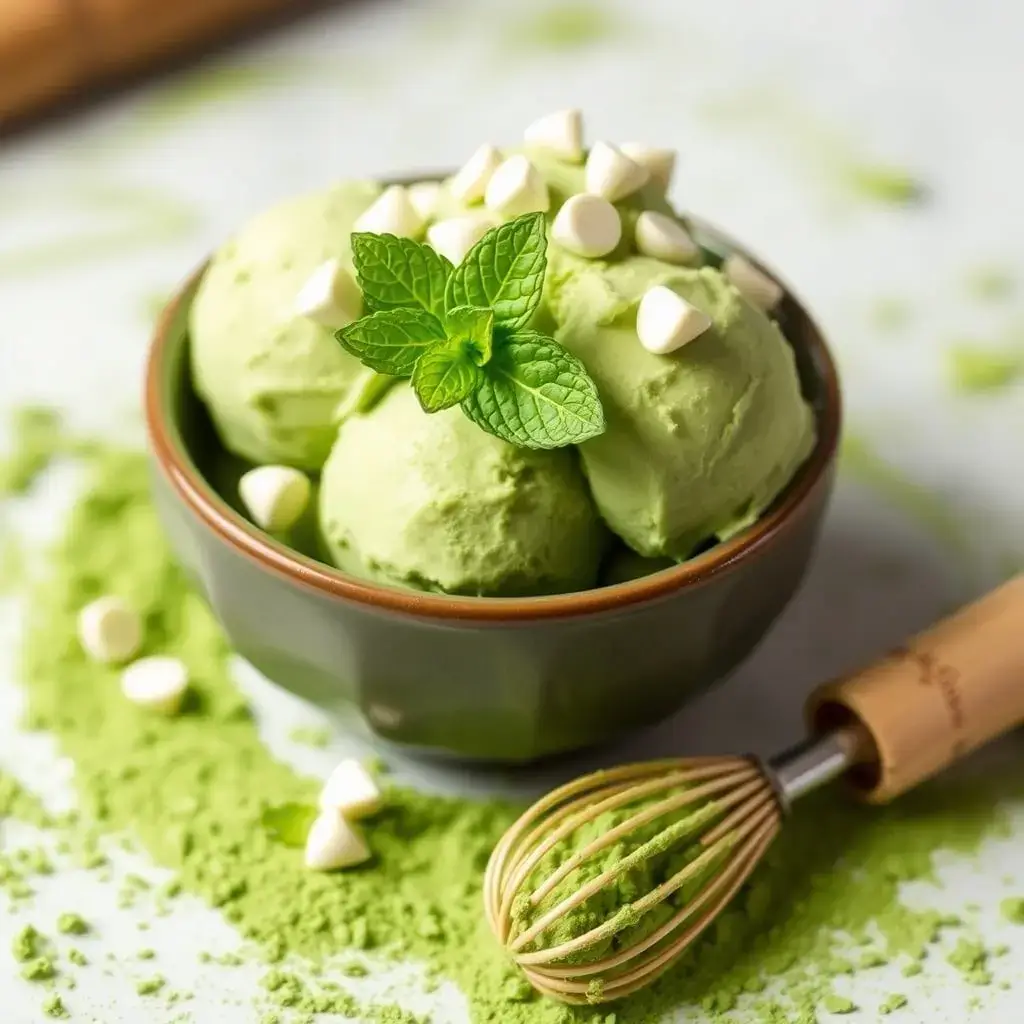
Here’s what you need:
- 1 cup heavy cream
- 1 cup whole milk
- 1/2 cup granulated sugar
- 2 tbsp high-quality matcha powder
- 1/8 tsp salt
Let’s get our matcha on:
- In a saucepan, whisk together the cream, milk, and sugar. Heat until the sugar dissolves.
- In a separate bowl, whisk the matcha powder with a little bit of the warm cream mixture until smooth.
- Slowly whisk the matcha mixture into the rest of the cream mixture.
- Add the salt and whisk to combine.
- Let the mixture cool completely, then pour it into your Ninja Creami pint and freeze for 24 hours.
- Churn in the Ninja Creami and re-spin if needed.
Here’s a fun twist: try adding some white chocolate chips or sweet red bean paste as a mix-in. It’s a flavor combo that’ll transport your taste buds straight to Japan!
Vegan-Friendly: Coconut Milk Mango Sorbet
Who says vegans can’t enjoy amazing frozen treats? This coconut milk mango sorbet is so good, even die-hard dairy lovers will be coming back for seconds.
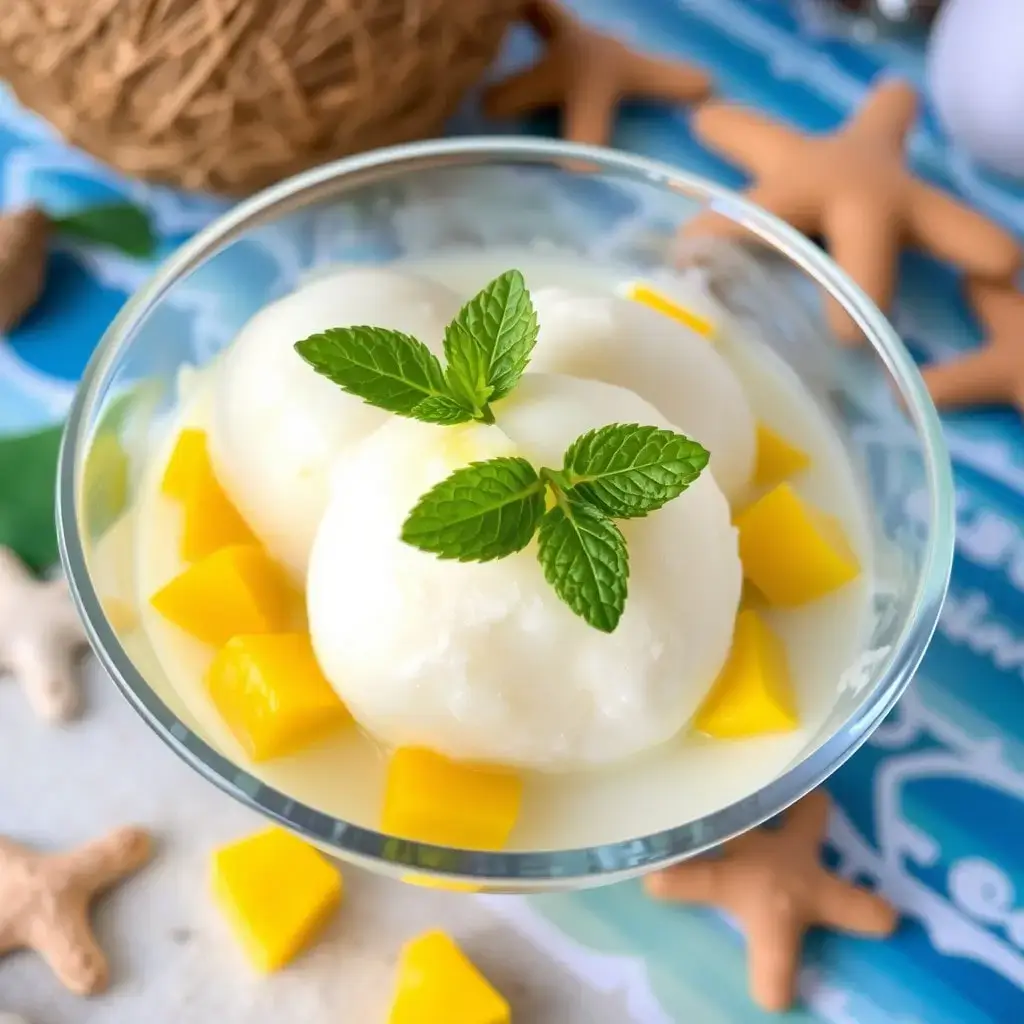
Ingredients:
- 1 can (14 oz) full-fat coconut milk
- 2 ripe mangoes, peeled and chopped
- 1/4 cup agave nectar or maple syrup
- 1 tbsp lime juice
- Pinch of salt
Here’s how to make this tropical dream:
- In a blender, combine all ingredients and blend until smooth.
- Pour the mixture into your Ninja Creami pint and freeze for 24 hours.
- Churn in the Ninja Creami, using the sorbet function.
- Re-spin if needed for the perfect texture.
Pro tip: If you want to make it even creamier, try using coconut cream instead of coconut milk. It’s a game-changer for vegan ice creams!
Tips and Tricks for Ninja Creami Success
Alright, now that I’ve shared some of my favorite recipes, let’s talk about how to make sure your Ninja Creami creations turn out perfect every time:
- Temperature matters: Make sure your base is frozen solid before churning. I’m talking at least 24 hours in the freezer.
- Fat is your friend: Higher fat content usually means creamier ice cream. That’s why most recipes call for heavy cream and whole milk.
- Master the re-spin: Don’t be afraid to use the re-spin function. It’s the key to getting that perfect texture.
- Get creative with mix-ins: The mix-in function is your playground. Try crushed cookies, nuts, chocolate chips, or even cereal!
- Store it right: Transfer your finished ice cream to an airtight container and store it in the back of your freezer where it’s coldest.
Troubleshooting Common Ninja Creami Issues
Even ice cream pros have off days. Here are some common issues and how to fix them:
- Icy texture: This usually means there’s too much water in your base. Try adding more fat or using the re-spin function.
- Too soft: Your base might not have been frozen enough. Make sure it’s in the freezer for at least 24 hours.
- Mix-ins won’t incorporate: Make sure your mix-ins are small enough and add them gradually during the mix-in function.
Remember, making ice cream is part science, part art. Don’t be afraid to experiment and adjust recipes to your taste. That’s half the fun!
Wrapping It Up
Well, there you have it, folks – your guide to becoming a Ninja Creami ice cream master. From classic vanilla to exotic matcha, and even vegan-friendly options, the possibilities are endless. The Ninja Creami has seriously upped my dessert game, and I hope these recipes inspire you to get creative in your kitchen too.
Remember, the best part about making your own ice cream is that you can customize it exactly to your taste. Don’t like it too sweet? Cut back on the sugar. Want it super creamy? Add an extra egg yolk. The world is your ice cream pint!

So, what are you waiting for? Dust off that Ninja Creami (or treat yourself to one if you haven’t already) and start churning! And hey, if you come up with any amazing flavor combinations, drop them in the comments below. I’m always on the lookout for new ice cream adventures!
Now, if you’ll excuse me, I’ve got a date with a pint of homemade strawberry cheesecake ice cream. Happy churning, everyone!

